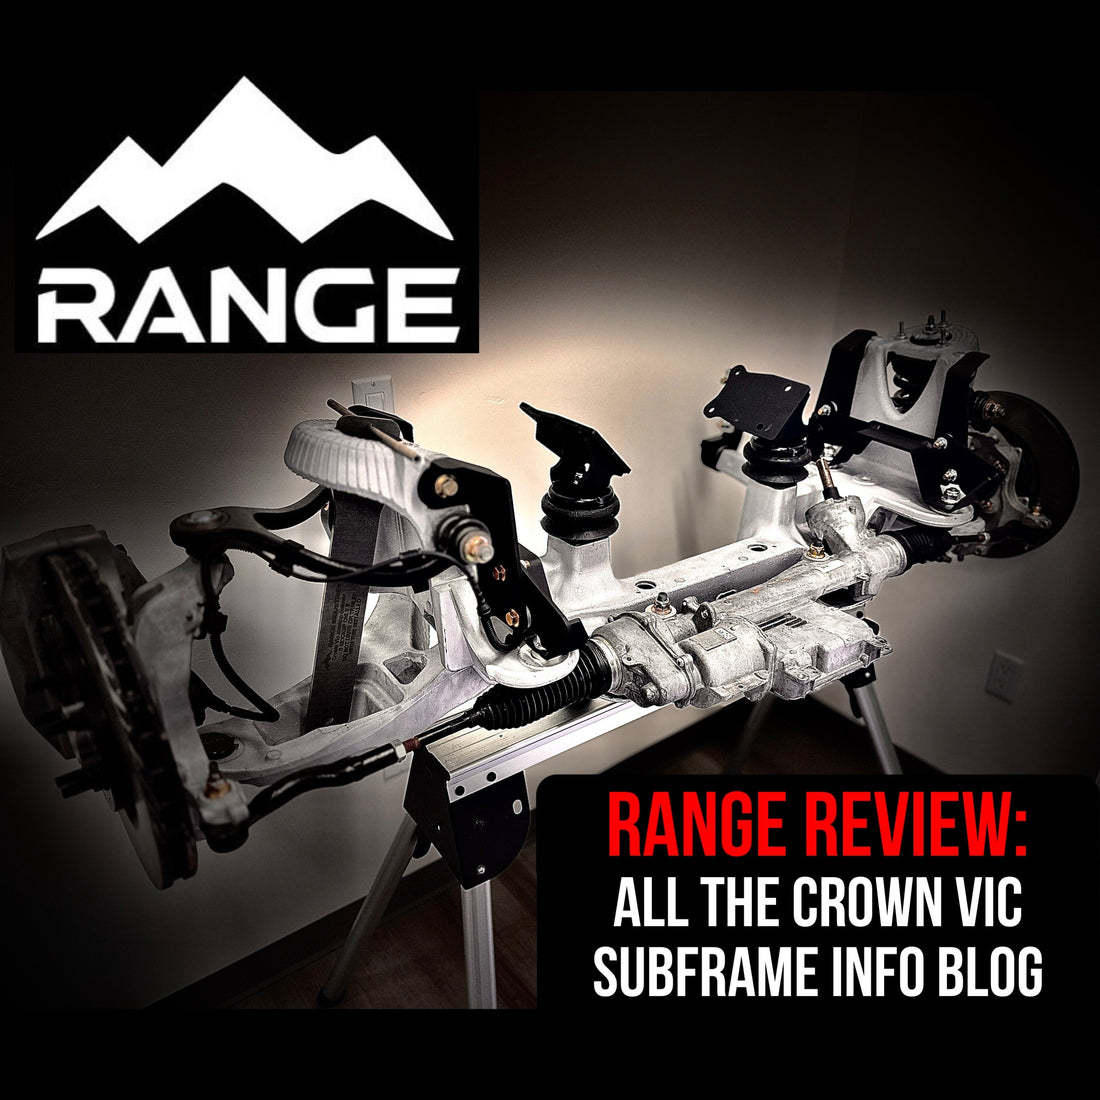
Range Review: All The Crown Vic Subframe Info
All our Crown Victoria info in one place!
We, a group of friends, started using the Crown Victoria front suspension on a project to restomod a 1959 Chevrolet Apache. After some research, we found it just lined right up and fit with minimal modification- it was cheaper, more robust and more modern than the Mustang II and just seemed like a no-brainer. After 10 years in the automotive engineering space, we put a high preference on OEM parts and modern OEM replacements, and a Blue oval going on a Chevy was the least of our worries. The first vehicle turned out so well, and so quickly, that the whole crew wanted one. Soon we had 2 Apaches, 2 slickside F250’s, a Hudson Coupe and a Ford shoebox all on Crown Vic Front subframes (the later 2 being narrowed).

Why use a Crown Victoria Subframe?:
At its core, the subframe is robust and self-contained- you get double A-arm coilover suspension, 12” vented disk brakes, rack and pinion power steering, a beefy swaybar, and motor mounting all connected to the aluminum subframe. The subframe and chassis has passed the test of time in real world applications as cop cars, limousines and taxis- the total mileage and abuse this chassis has been subjected to is unfathomable. They are built like tanks- how many aftermarket suspensions can go 100k miles without service? The curb weights of the Crown vics are 3,942-4,214 lbs, a great match for our restomodded projects (typically 3500 to 4000 lbs for an old truck).
The crown vic is the most modern body-on-frame car that was built in volume. The double a-arm suspension with a coilover is the gold standard of front suspension design with better camber curves and excellent strength and durability vs other designs. With modern unibody car structure and cost reduction, mcpherson strut has become the norm, and a-arm suspensions have been relegated to trucks and more exotic cars. The Crown Vic front suspension, with its bolt-in aluminum crossmember is for sure the goldilocks front suspension: excellent performance and strength,easy installation, plentiful and cheap to buy.

The only potential drawback-
Width. With a WMS (wheel mounting surface) width of 66.9” it is definitely wider than any old car or truck suspension, and it requires the use of modern, (high positive offset) flat wheels. This could be considered a drawback if you like the deep dish wheel look (or concave wheels), but in our opinion the modern geometry makes up for it. The reason all modern wheels are flat faced is to reduce scrub radius and get steering and suspension geometry that handles and drives better. To us it is an advantage since it improves ride, handling and comfort. The track width increase on its own improves cornering and stability. Wheels are plentiful both new and used, as mustang ones fit nicely (same 5 on 4.5 bolt pattern).
Now if you are installing it in a classic car, or a truck older than mid 50’s the width may be a problem beyond just wheel choice. Your options are to widen the fenders or narrow/get a narrow crossmember.
Ride Height and Fender Clearance:
Track width on older vehicles comes with the challenge of Fender clearances which varies from body to body and the lower you go, the more challenging fender clearance will become while turning. There’s a lot of talk online about ride heights, and the debate comes down to form vs function. While we would love to set our vehicles up lower, we prioritize being able to turn the wheels without fender interference and navigate a driveway without scraping. We mount the suspension against the bottom of the frame, and run civilian struts. This is typically 4-5” lower than stock trucks, and preserves the factory Crown vic geometry with a great stance to boot.

Which vehicles have this suspension?
2003-2011 Ford Crown Victoria
2003-2011 Lincoln Towncar
2003-2011 Mercury Grand Marquis
2003-2004 Mercury Marauder
What/ Which Years and Models are best?
Well, condition is key- especially if you don’t plan to replace every rubber bushing immediately…
The early years (estimated 03-04.5) have some positives and negatives, civilian models came with aluminum lower control arms(LCA’s) and subframe brackets, which can still be purchased in the aftermarket and fit to all subframes; Unfortunately the early spindles/hubs were a different diameter, and the rear lower control arm mounts were a larger diameter, thus finding replacement rear LCA mounts is becoming difficult and they do NOT work with the Range LCA mounts. However every aftermarket replacement LCA is the small post and does work with the Range mounts.
If you plan to use the stock hydraulic rack, 03-07 came with an electric control valve called VARS. This system operates off of Pulse Width Modulation(PWM) from a controller integrated in the Crown Victoria and makes the steering assist higher at low speeds than at high speeds. This can be left unplugged and ignored for a decent power steering feel. Some people install manual PWM controllers, some people gut the solenoid and install a plug, and many opt for an 08+ rack which does not include the control solenoid. Our preference on steering is to upgrade to the 2015-2023 mustang electric rack- you get a quicker steering ratio and don't need a pump, hydraulic lines, cooler, or reservoir. And your power steering isn’t RPM sensitive, heck, the engine doesn’t even have to be running (soo handy). Be on the lookout: Range is in the process of developing and testing a standalone speed sensitive steering controller for the mustang electric rack.
Civilian vs Police/Taxi/Service vehicle subframes:
There were differences through the years in a-arm materials, sway bar diameters, and struts. We prefer the civilian donors for the aluminum control arms (cleaner look) and the softer spring rates, while the service vehicles came with slightly larger swaybars.
For a swap project, these differences are very minor and any donor will work just fine. Parts can be interchanged anyway, and service parts are plentiful for all of them. We have successfully used all variants.

What to get at the junkyard:
Get it all- brake to brake, even the brake hoses, sway bar, etc. for the budget approach.
If using the range kit to install, you can skip the upper mounting brackets and bolts, as well as the rear LCA mounts. Skip the steering rack if you plan to go electric steering (you won’t regret it).
If you plan on refurbishing the front end with all new parts and using the Range install kit, bare minimum you will want: Aluminum subframe, Swaybar, and Spindles/hubs, bring all the stock hardware/bolts home, you probably won’t need most of them, but somebody will.

Tools needed:
Big breaker bar and long extensions for the main bolts. Use a 24mm deep socket to remove the nuts from the top, then a 21mm shallow and/or a 21mm ratcheting wrench from the bottom to remove the bolts.
Note that even after you take the nuts off the big bolts, you still have to unscrew them from the bottom (they are threaded in the frame as well)
Bolt cutters for the brake/PS lines (cut at the hardlines and crimp closed to avoid a mess)
Regular sockets for motor mount, steering shaft, swaybar, rear mounts
Usually the motor will hang there from all its lines, etc. and you can just drop the subframe out without supporting the engine, but be careful!
Getting the Steering working-
You can cut and re-fit stock lines, or the simplest way is to convert the rack and your pump to -6 AN, and have your local hydraulic shop make up a line to fit. Only the pressure side needs to be a pressure rated hydraulic hose. For the return, we use push-loc hose and barb fittings. Consider adding a cooler on the return circuit.
S550 Mustang (2015-2023) Electric Power Assist Steering Rack (EPAS)
Because the inner tie rod measurement matches, the Mustang Rack is a significant upgrade in steering. Most notably it has a quicker steering ratio (16:1) vs the Crown Vic’s (18:1) this creates a sportier, more modern driving experience. The use of electric power means you can ditch the PS pump, lines, reservoir, cooler etc for a cleaner, simpler engine bay. Unlike hydraulics, the electric rack is consistent even with the engine off (key in the on position). The rack is self contained and will operate in failsafe mode with just power and an ignition signal.
The EPAS mounting kit offered by Range was designed and is machined in-house out of aluminum and anodized for durability. The inner tie rods included with the kit are aftermarket replacements for the S550 that have been shortened and rethreaded to work with the stock Vic out tie rods (no modification required). These tie rods include steering stops and boot clamps to help fine tune your turning radius and to help prevent contact with fenders and or sway-bars. If you are running the stock Vic subframe bolts on your chassis, the tie-rod boots may rub, but lower profile boots are available- order EMPI part number: 881714 (jeep Cherokee boots).
You will also need a steering shaft- you can piece together your own from Borgeson or similar parts (steering rack end is a “ ford triangle”). We usually just cut the stock column and weld on a u -joint at the firewall and have a collapsible shaft between.
Lately we have been using bits and pieces from late model F-150, mustang, and ranger steering shafts to piece together our own and keep the collapsible section.

What else to go with it?:
You will need a disc brake master/booster setup.
We like Cadillac/Camaro 4 pot Brembo calipers and 14" rotors
It never hurts to grab a set of stock wheels, lug nuts and center caps- great for your car to roll around on. In our experience, don’t buy wheels and tires until you get it put together (unless you need them to keep the motivation going!). No need to rush it.
And you will probably need to lower the rear suspension to match- axle flip, 4 link, or our favorite- the S-550 mustang IRS swap.
Range Product Links:
Crown Vic bolt in kit for '53-79
1980-1996 F-150 bolt in Crown Vic Kit